

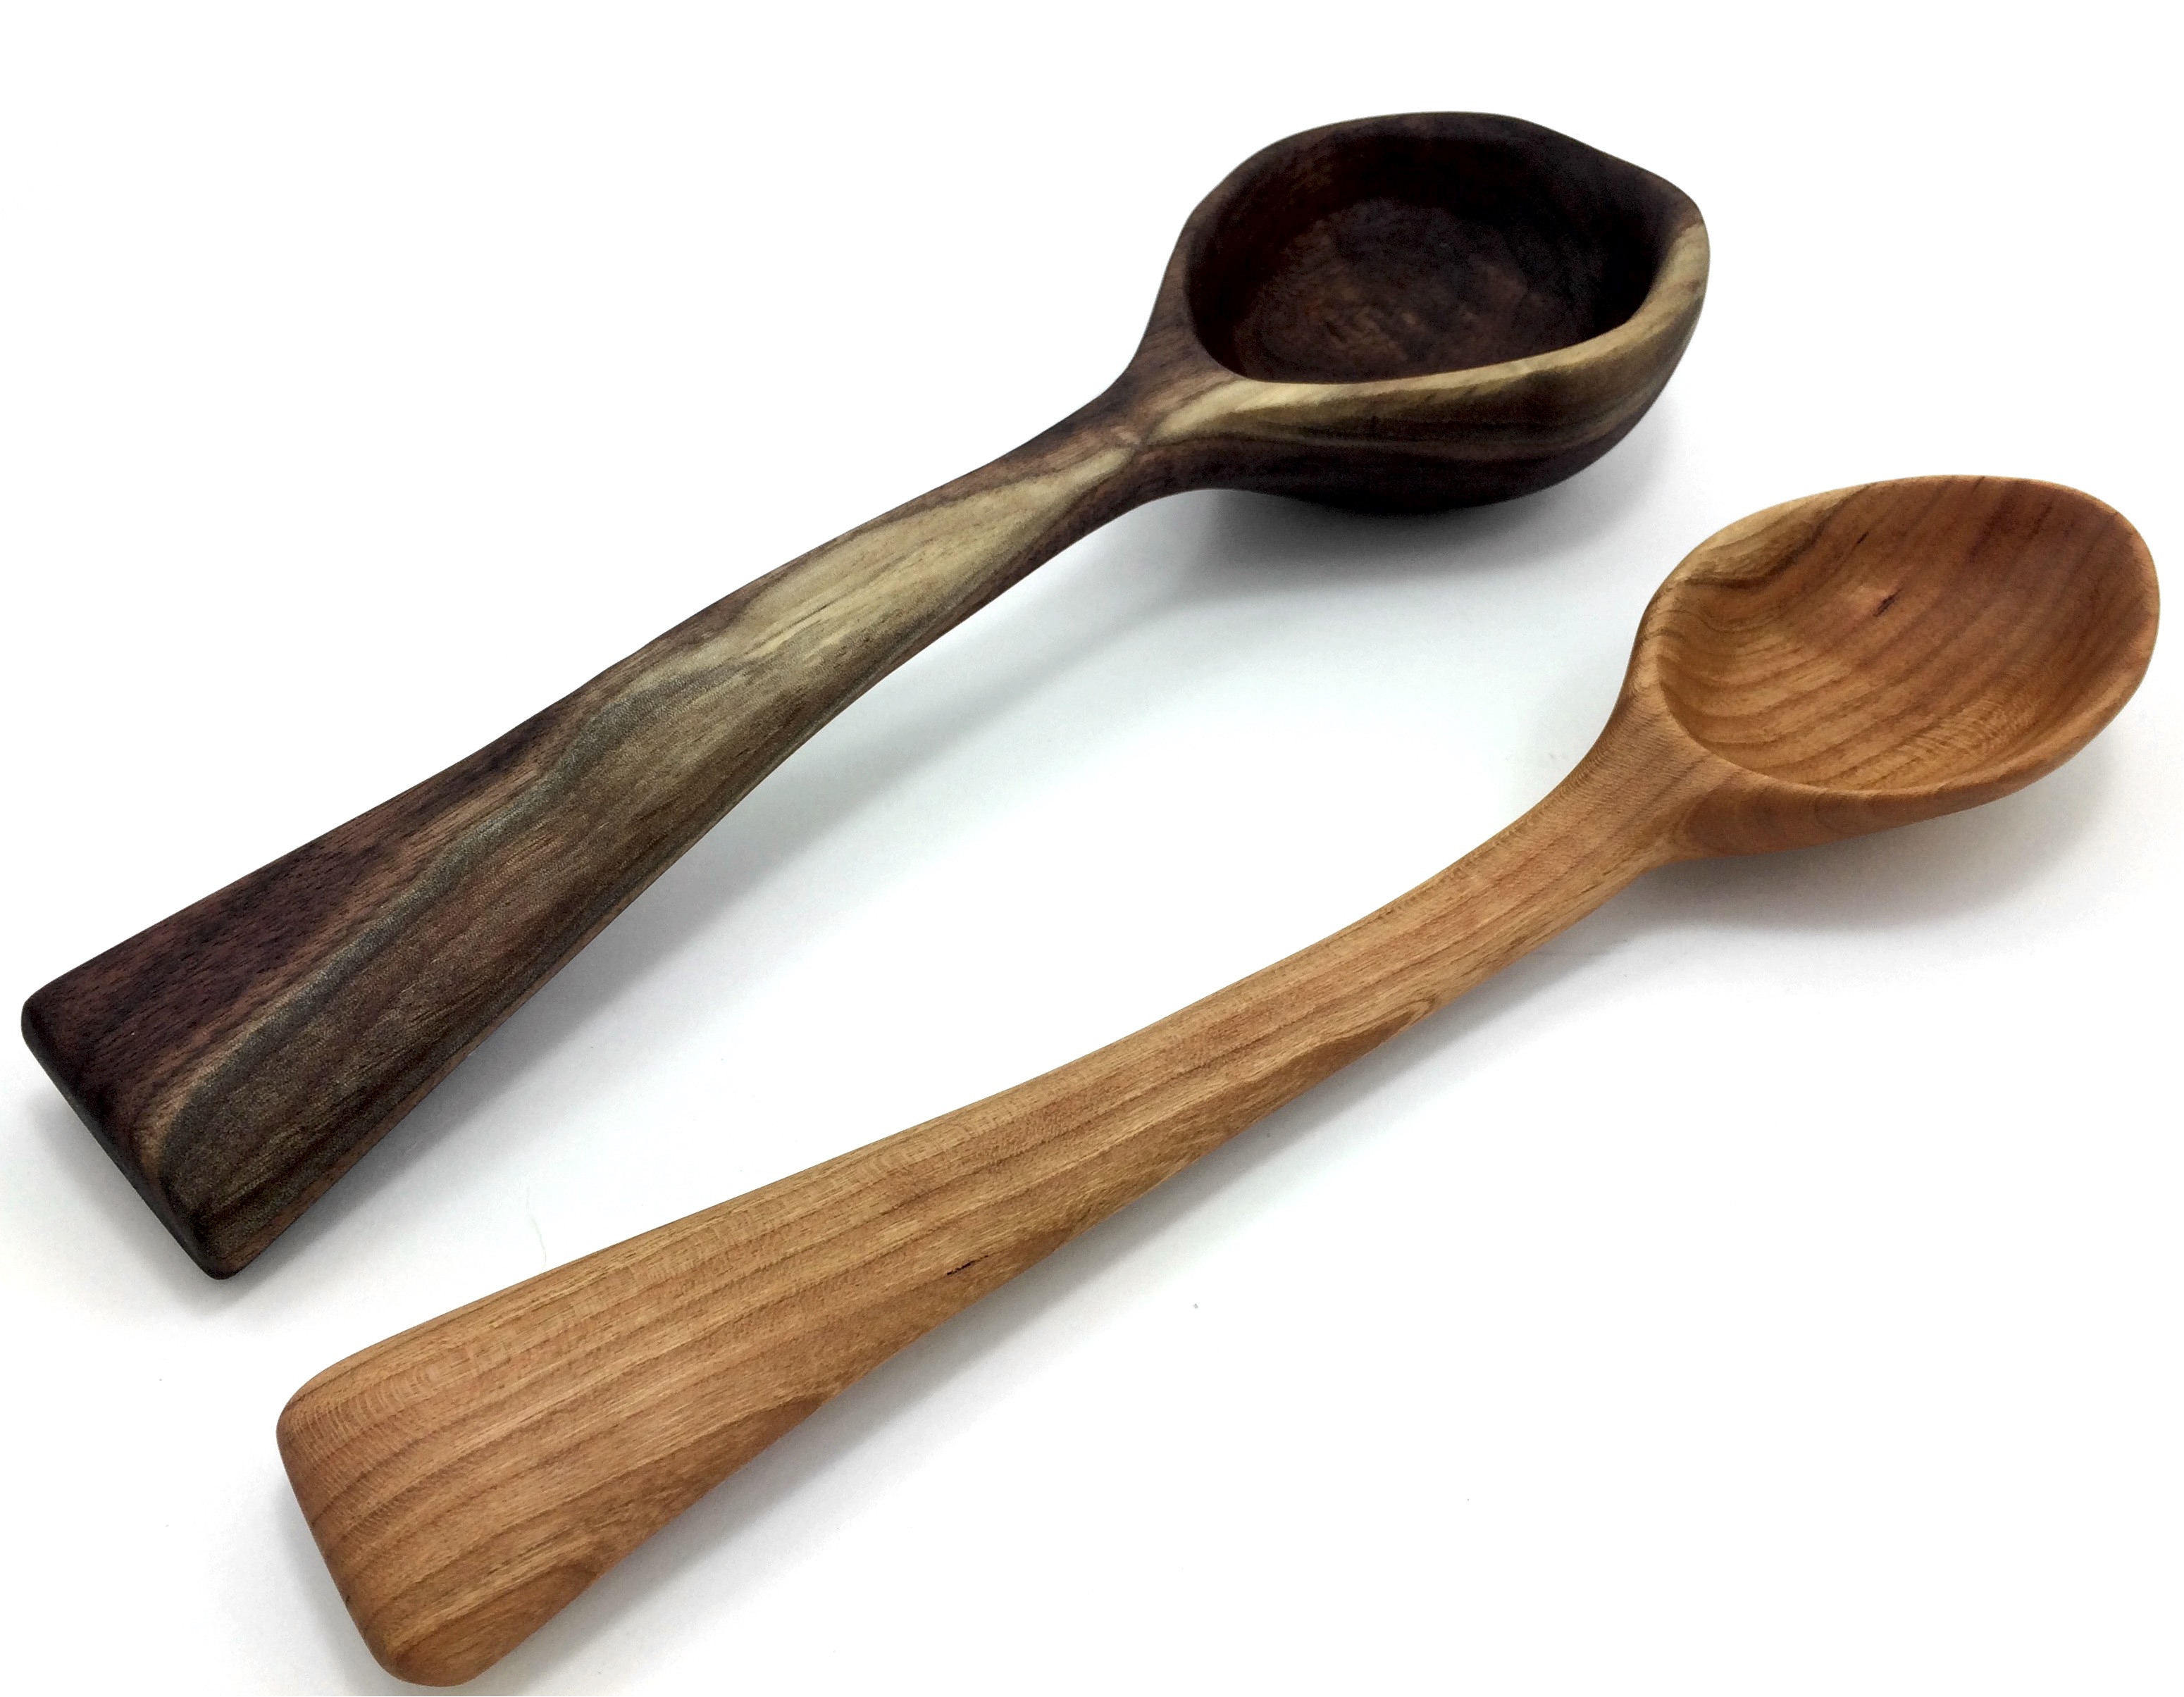
Our first spoons. Nichole’s is on the left (walnut) and mine is on the right (cherry).
A while back I was wandering through the forest that is the internet and discovered handmade spoons. Wow! I knew immediately I had to make one. These handmade spoons make the spoons in our kitchen drawer look wimpy and boring.
This is how it usually works…I’ll stumble down an internet rabbit hole and find something really unique or interesting and think “I can make one of those!” I think partly it is the challenge and prospect of pushing myself to learn new skills and create something I’ve not made before. Of course, it might also be that making something new always seems to involve acquiring some new tools. 🙂
So how does one make a handmade spoon? After spending time reading various posts and articles on making spoons, it seems there are a number of approaches. Some prefer to make spoons entirely by hand, using curved gouges, spokeshaves, carving knives, and a mallet. Others choose to make them using primarily power tools, including a bandsaw, drill press, and die grinder. As for the choice of wood for spoons, there seems to be no clear consensus on species so long as it is a hardwood like maple, walnut, cherry, or mesquite.
After sharing my newly discovered knowledge of spoon making with Nichole, she was intrigued (dare I say impressed?) and interested in making her own spoon. Being the self-serving romantic I am, I secured all the tools we might need for creating spoons and presented them to her and our daughter Mia on Valentine’s Day with the suggestion that we spend the day together carving spoons. After some begging and pleading, they both agreed!
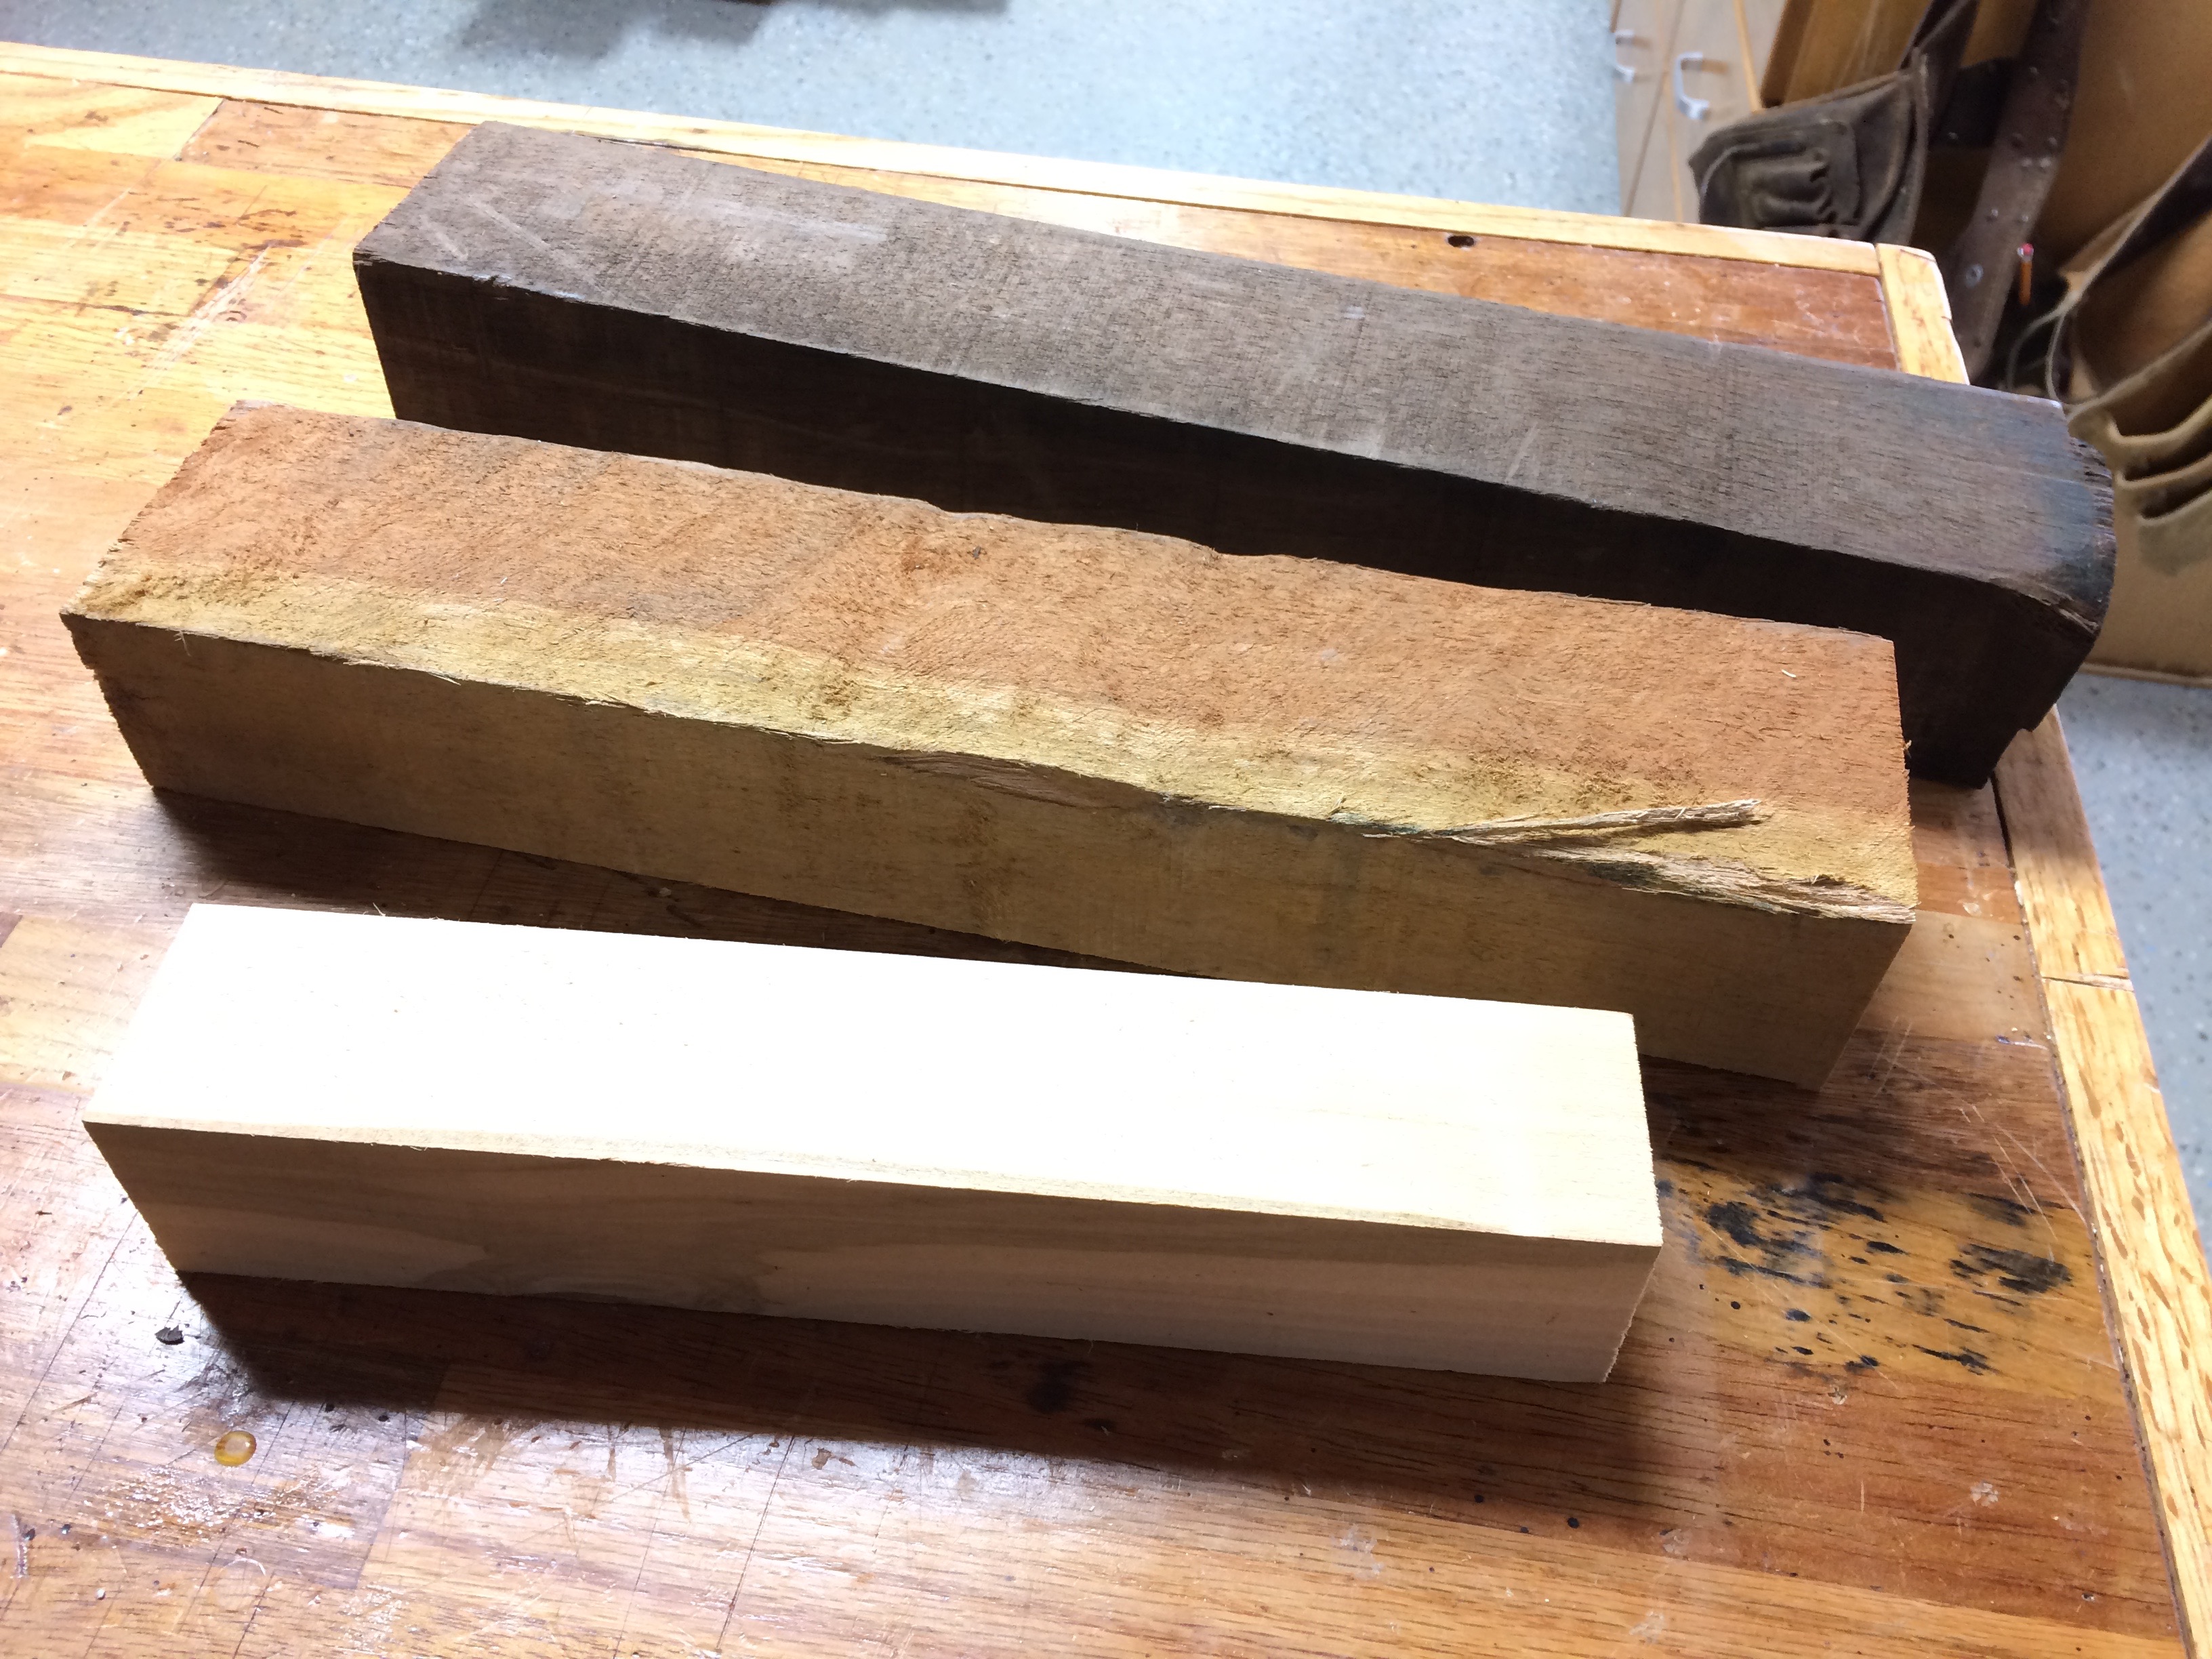
Our blocks of wood.
Valentine’s Day arrived and we set out to make our own spoons. Since this was our first time, I decided to use the experience as an opportunity to figure which methods – hands tools or power tools – we preferred and which approach we might want to use if we decided to include spoons in our craft fairs. After selecting our preferred woods – Nichole selected walnut, Mia chose pine, and I picked cherry – we drew out designs on the blanks for our spoons using Sharpies. Once we had our designs, we started out using hand tools, primarily gouges and a mallet, to remove material from the bowl of the spoon. This was slow going, but I have to commend Nichole for sticking with it. She removed the majority of the material from the bowl of her spoon using a mallet and chisel. I, on the other hand, turned to my trusty drill press and a forstner bit to remove the bulk of the material. Next, I used carving knives to shape the bowl, and lastly a die grinder and sphere-shaped burrs from Saburrtooth for refinement. Mia opted for the Dremel with a grinding burr.
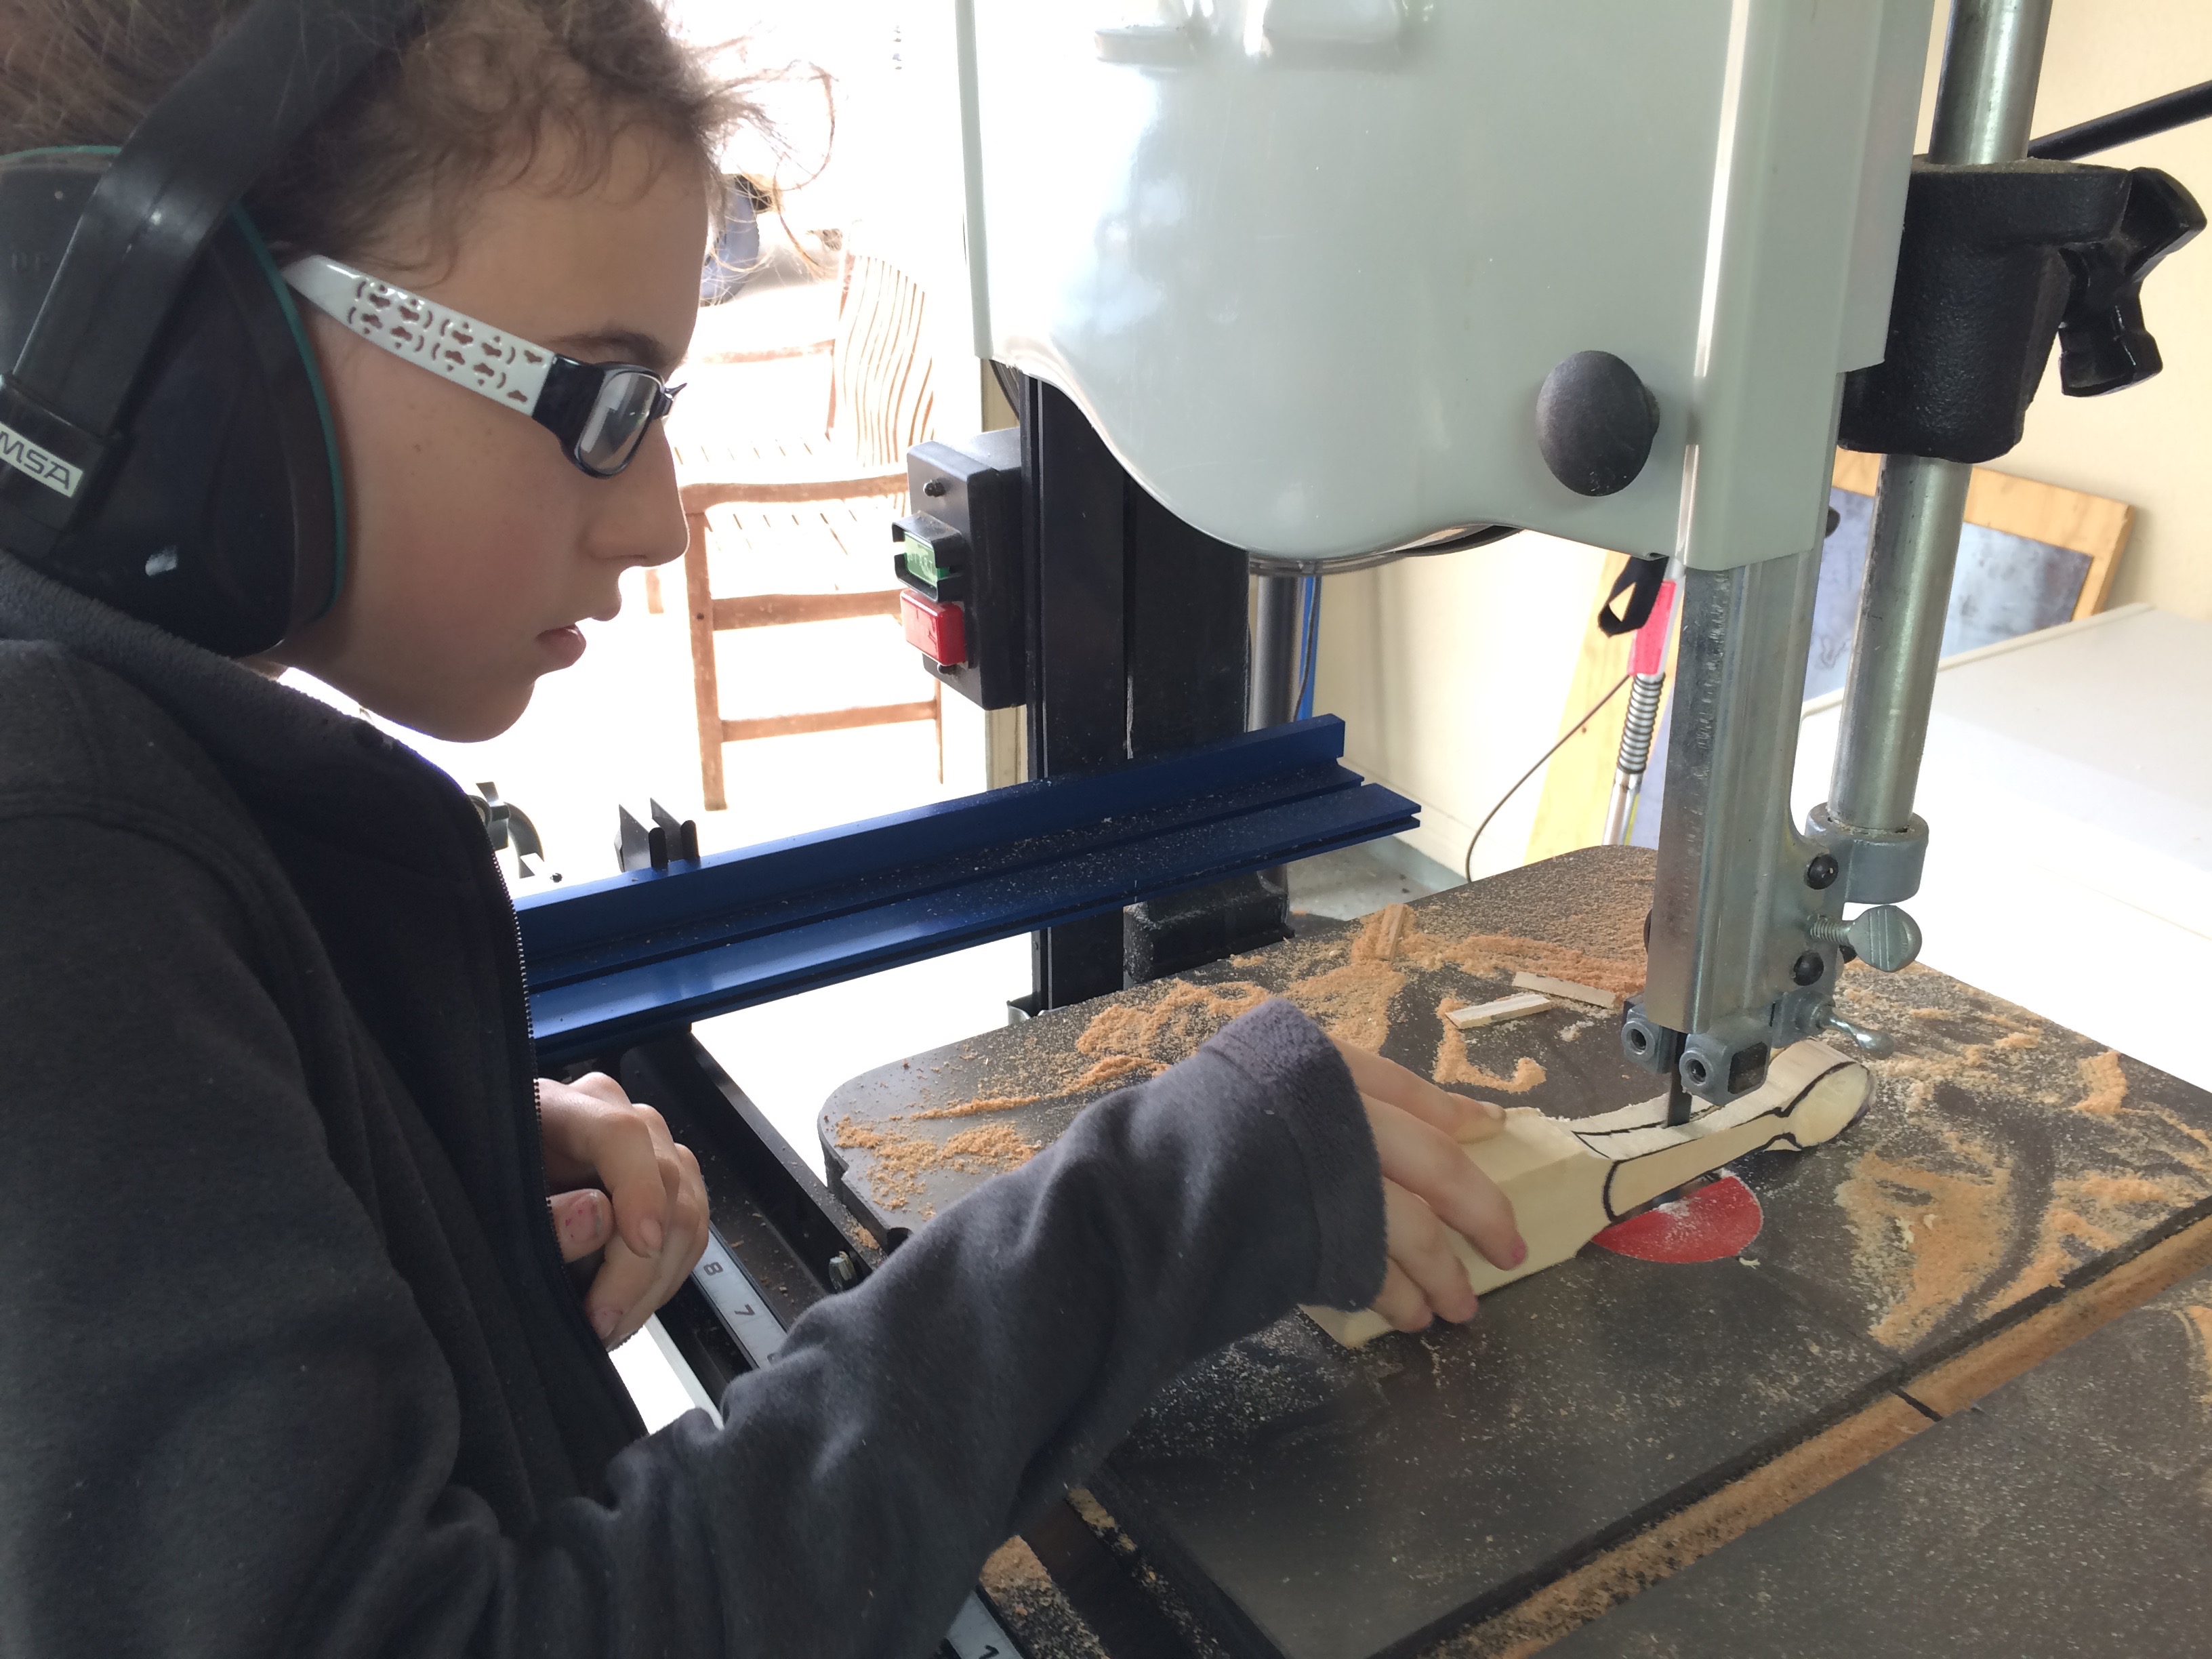
Mia using the bandsaw
Once we had the bowl of the spoons roughed out, we used the bandsaw to cut the blank to the desired shape we outlined for our spoons. Though we still had a lot of work ahead of us, we finally had some workpieces that looked like spoons, or rather spoons that a cave man might use, but nonetheless, we could have probably used them as spoons at this point. Using spokeshaves, we began refining our utensils and getting them closer to the desired final shape. This was my first time using a spokeshave and I was thoroughly impressed with the results! In anticipation of this project, I built my own spokeshave and it exceeded my expectations (I’ll share more info about the spokeshave below). Along the way, we used some other hand tools I purchased for this project, including a wood carving knife and a wood carving hook knife. Both worked really well and removed material quickly, though I think both would work better on softer wood or hardwoods that are still green.

Hand tools are hard work!
The next step was sanding. In addition to hand sanding, we used our random orbit sanders to smooth the handle and cup. Our mini-orbital sander worked especially well for sanding the bowl of the spoons. The last step was to apply a food safe finish. Based on reviews from other spoon makers, we opted for Mahoney’s Walnut Oil and Wax. The finish brought the spoons to life, highlighting the grain and deepening the color.
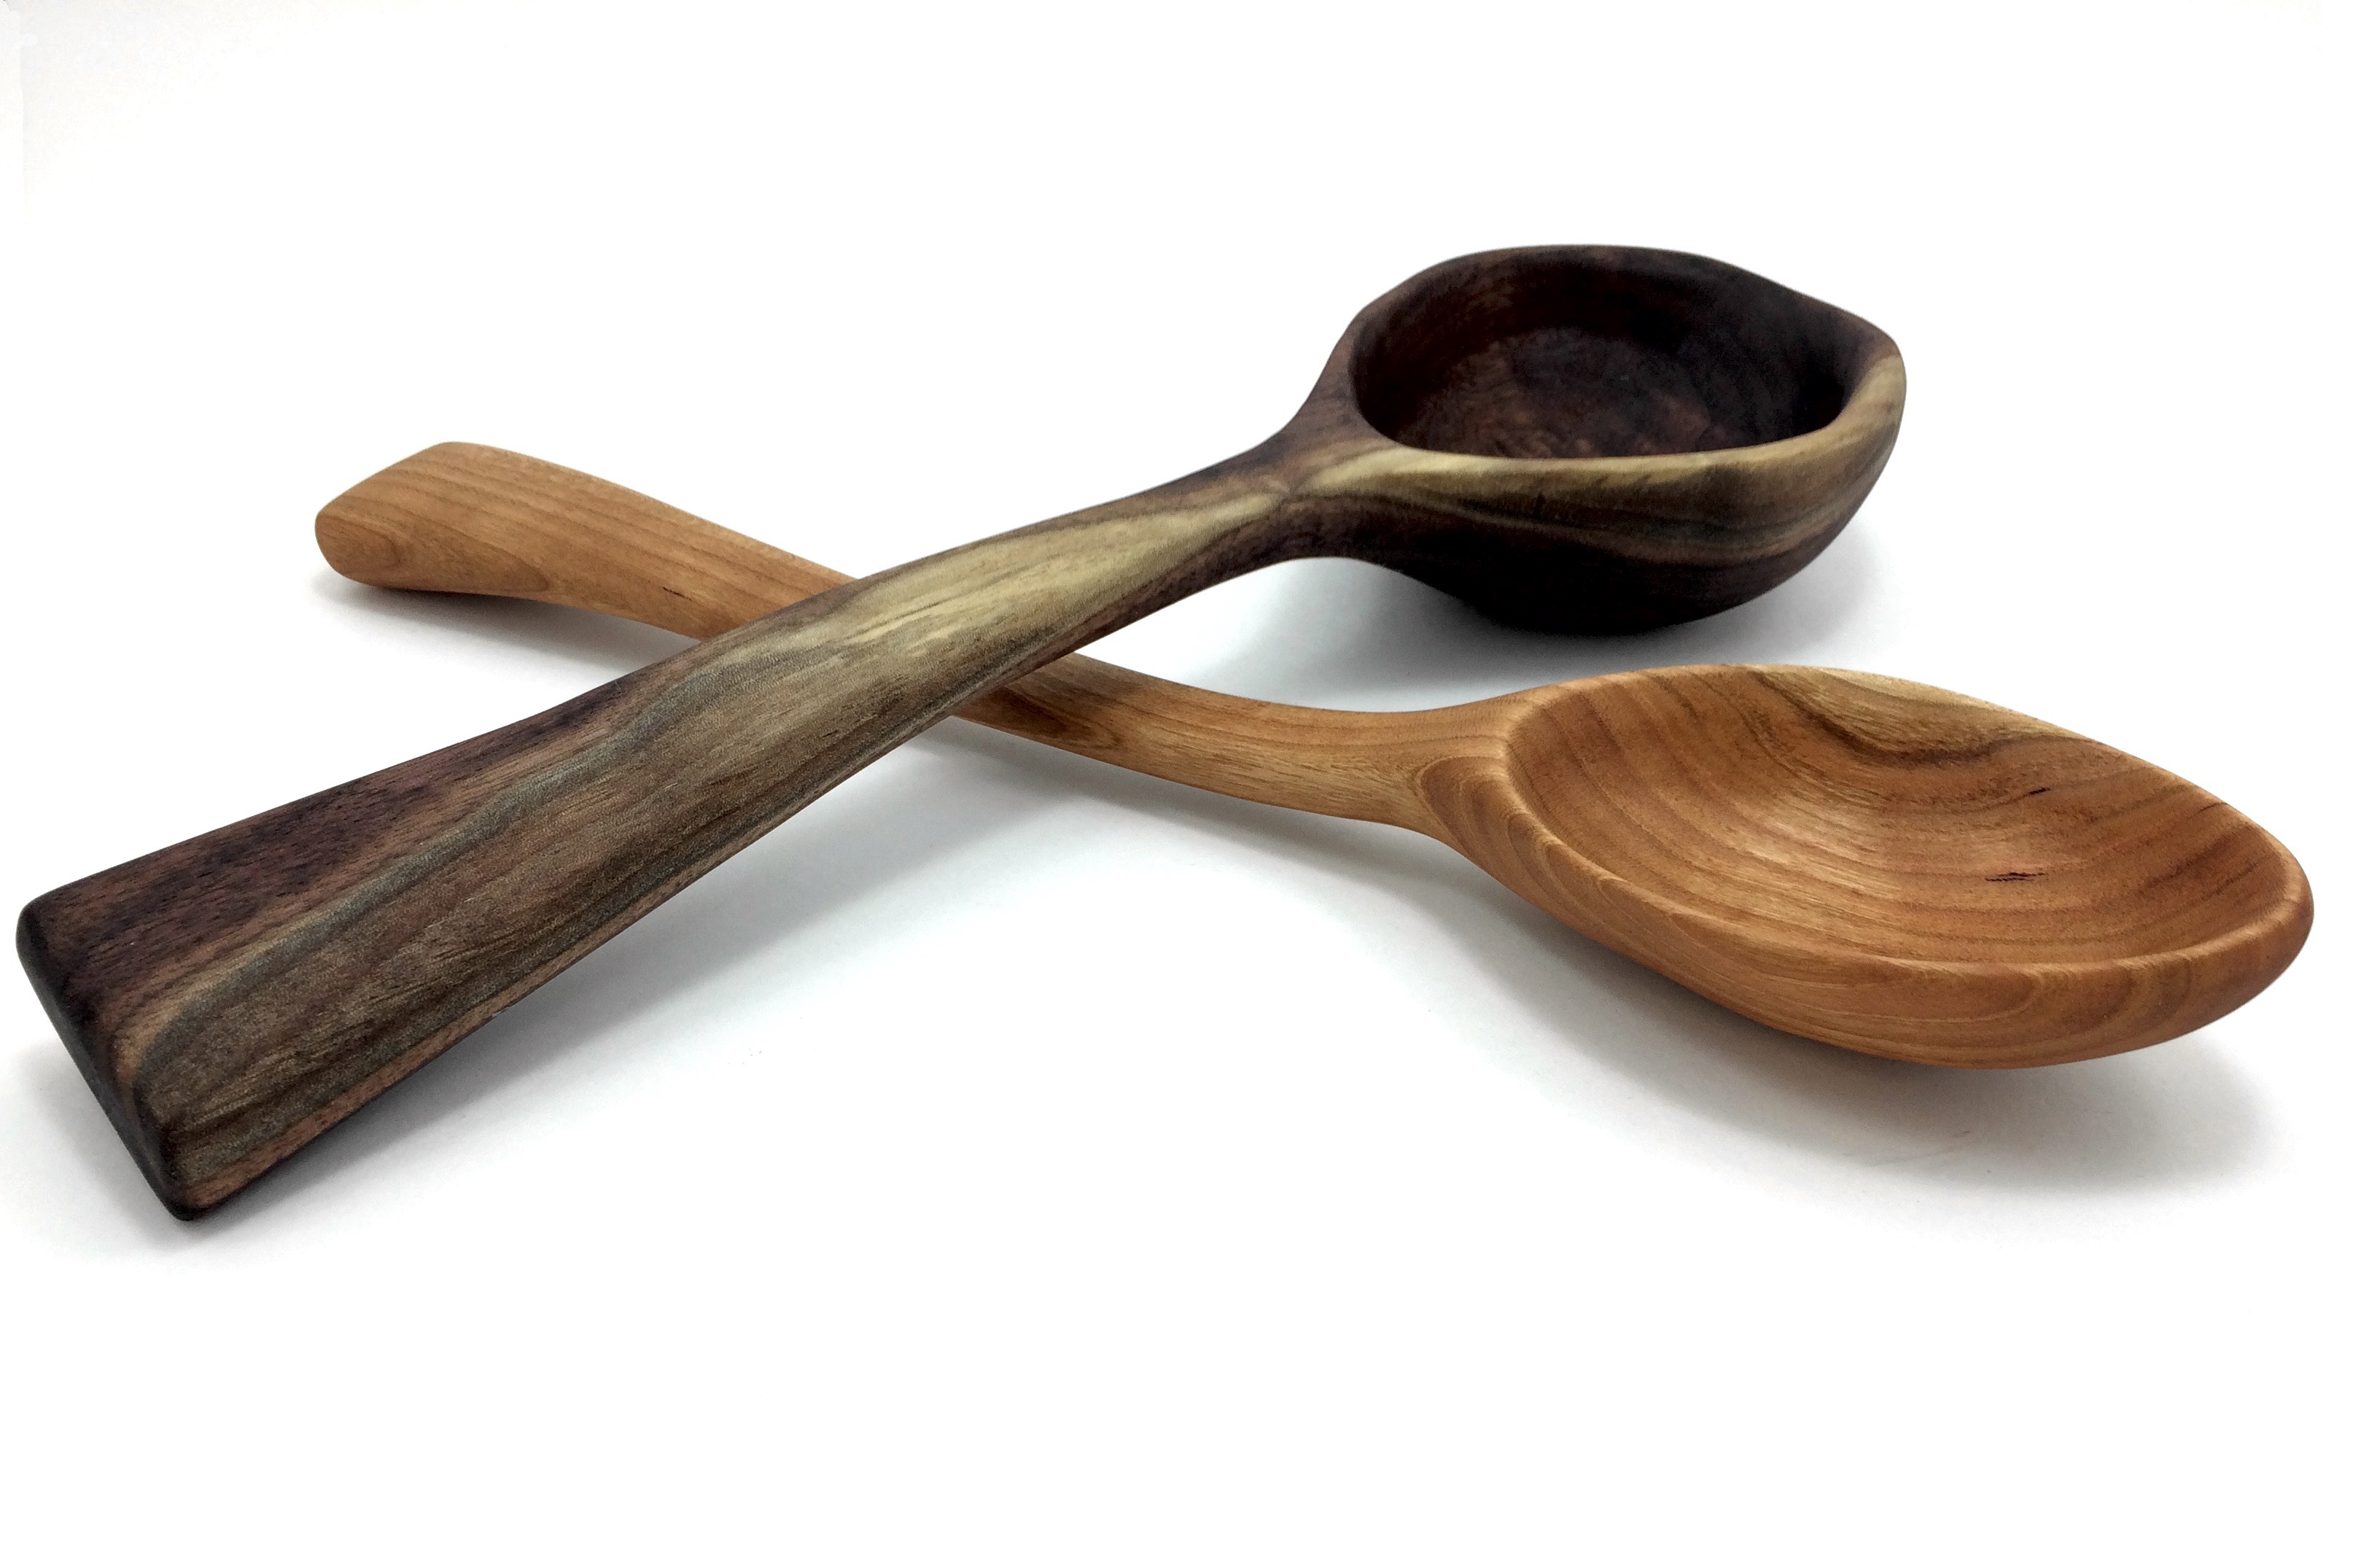
Look at that awesome grain! The cherry spoon will get darker over time.
So what did we learn from our first foray into spoon making? First, making spoons 100% by hand is hard work. If we decide to make these to sell, I anticipate we’ll use a hybrid approach that combines both hand tools and power tools. Next, we learned that you should shape the bowl of the spoon to its final dimensions before rough cutting the spoon to your desired shape. A block of wood is much easier to clamp to the workbench as compared to a rough-shaped spoon. A shaped spoon is difficult to secure to the workbench, and worse, might crack or split if you apply too much clamping pressure. Lastly, we learned that we love the results – the spoons are gorgeous and they feel great in your hand.
If you’re interested in making your own spoon, we’ve included some additional information below about the various tools we used during this project.
- A: Spokeshave – Leading up to the project, I did a ton of research on spokeshaves and decided to make my own using a kit I purchased Woodjoy Tools. Though I found the instructions to be a bit lacking – some color photos or online videos would be a welcome addition, the kit was comprised of high-quality materials and after just an hour or two of time I was able to create a spokeshave that slices effortlessly through wood. This tool was useful for quickly shaping and refining the handle of the spoon, as well as the outside of the spoon’s bowl.
- B: Forstner bit – This was useful for removing a lot of material quickly from the bowl of the spoon.
- C: Carving knives – The hook carving knife was useful for removing material after using the forstner bit. Though it was slow going, it was useful to shaping the bowl of the spoon. Word of caution – because of how this tool is used, make sure you wear finger guards!
- D: Curved gouge -Nichole used this and a mallet to shape the bowl of her spoon. The key, we discovered, is to keep it sharp. I tried it a bit, but opted for the power tool route (see Forstner bit above).
- E: Saburrtooth bits – We used two types of sphere-shaped burrs – one is coarse and the other is fine. These were incredible effective at removing material and fine tuning the shape of the spoon’s bowl – both the inside and outside.
- F: Die-Grinder – If you’re going to use the Saburrtooth burrs or something similar, then you’ll need a die grinder. We opted for a $11 grinder from Harbor Freight. Though I had my doubts before buying, it worked perfectly and performed flawlessly with the burrs – well worth the $11!
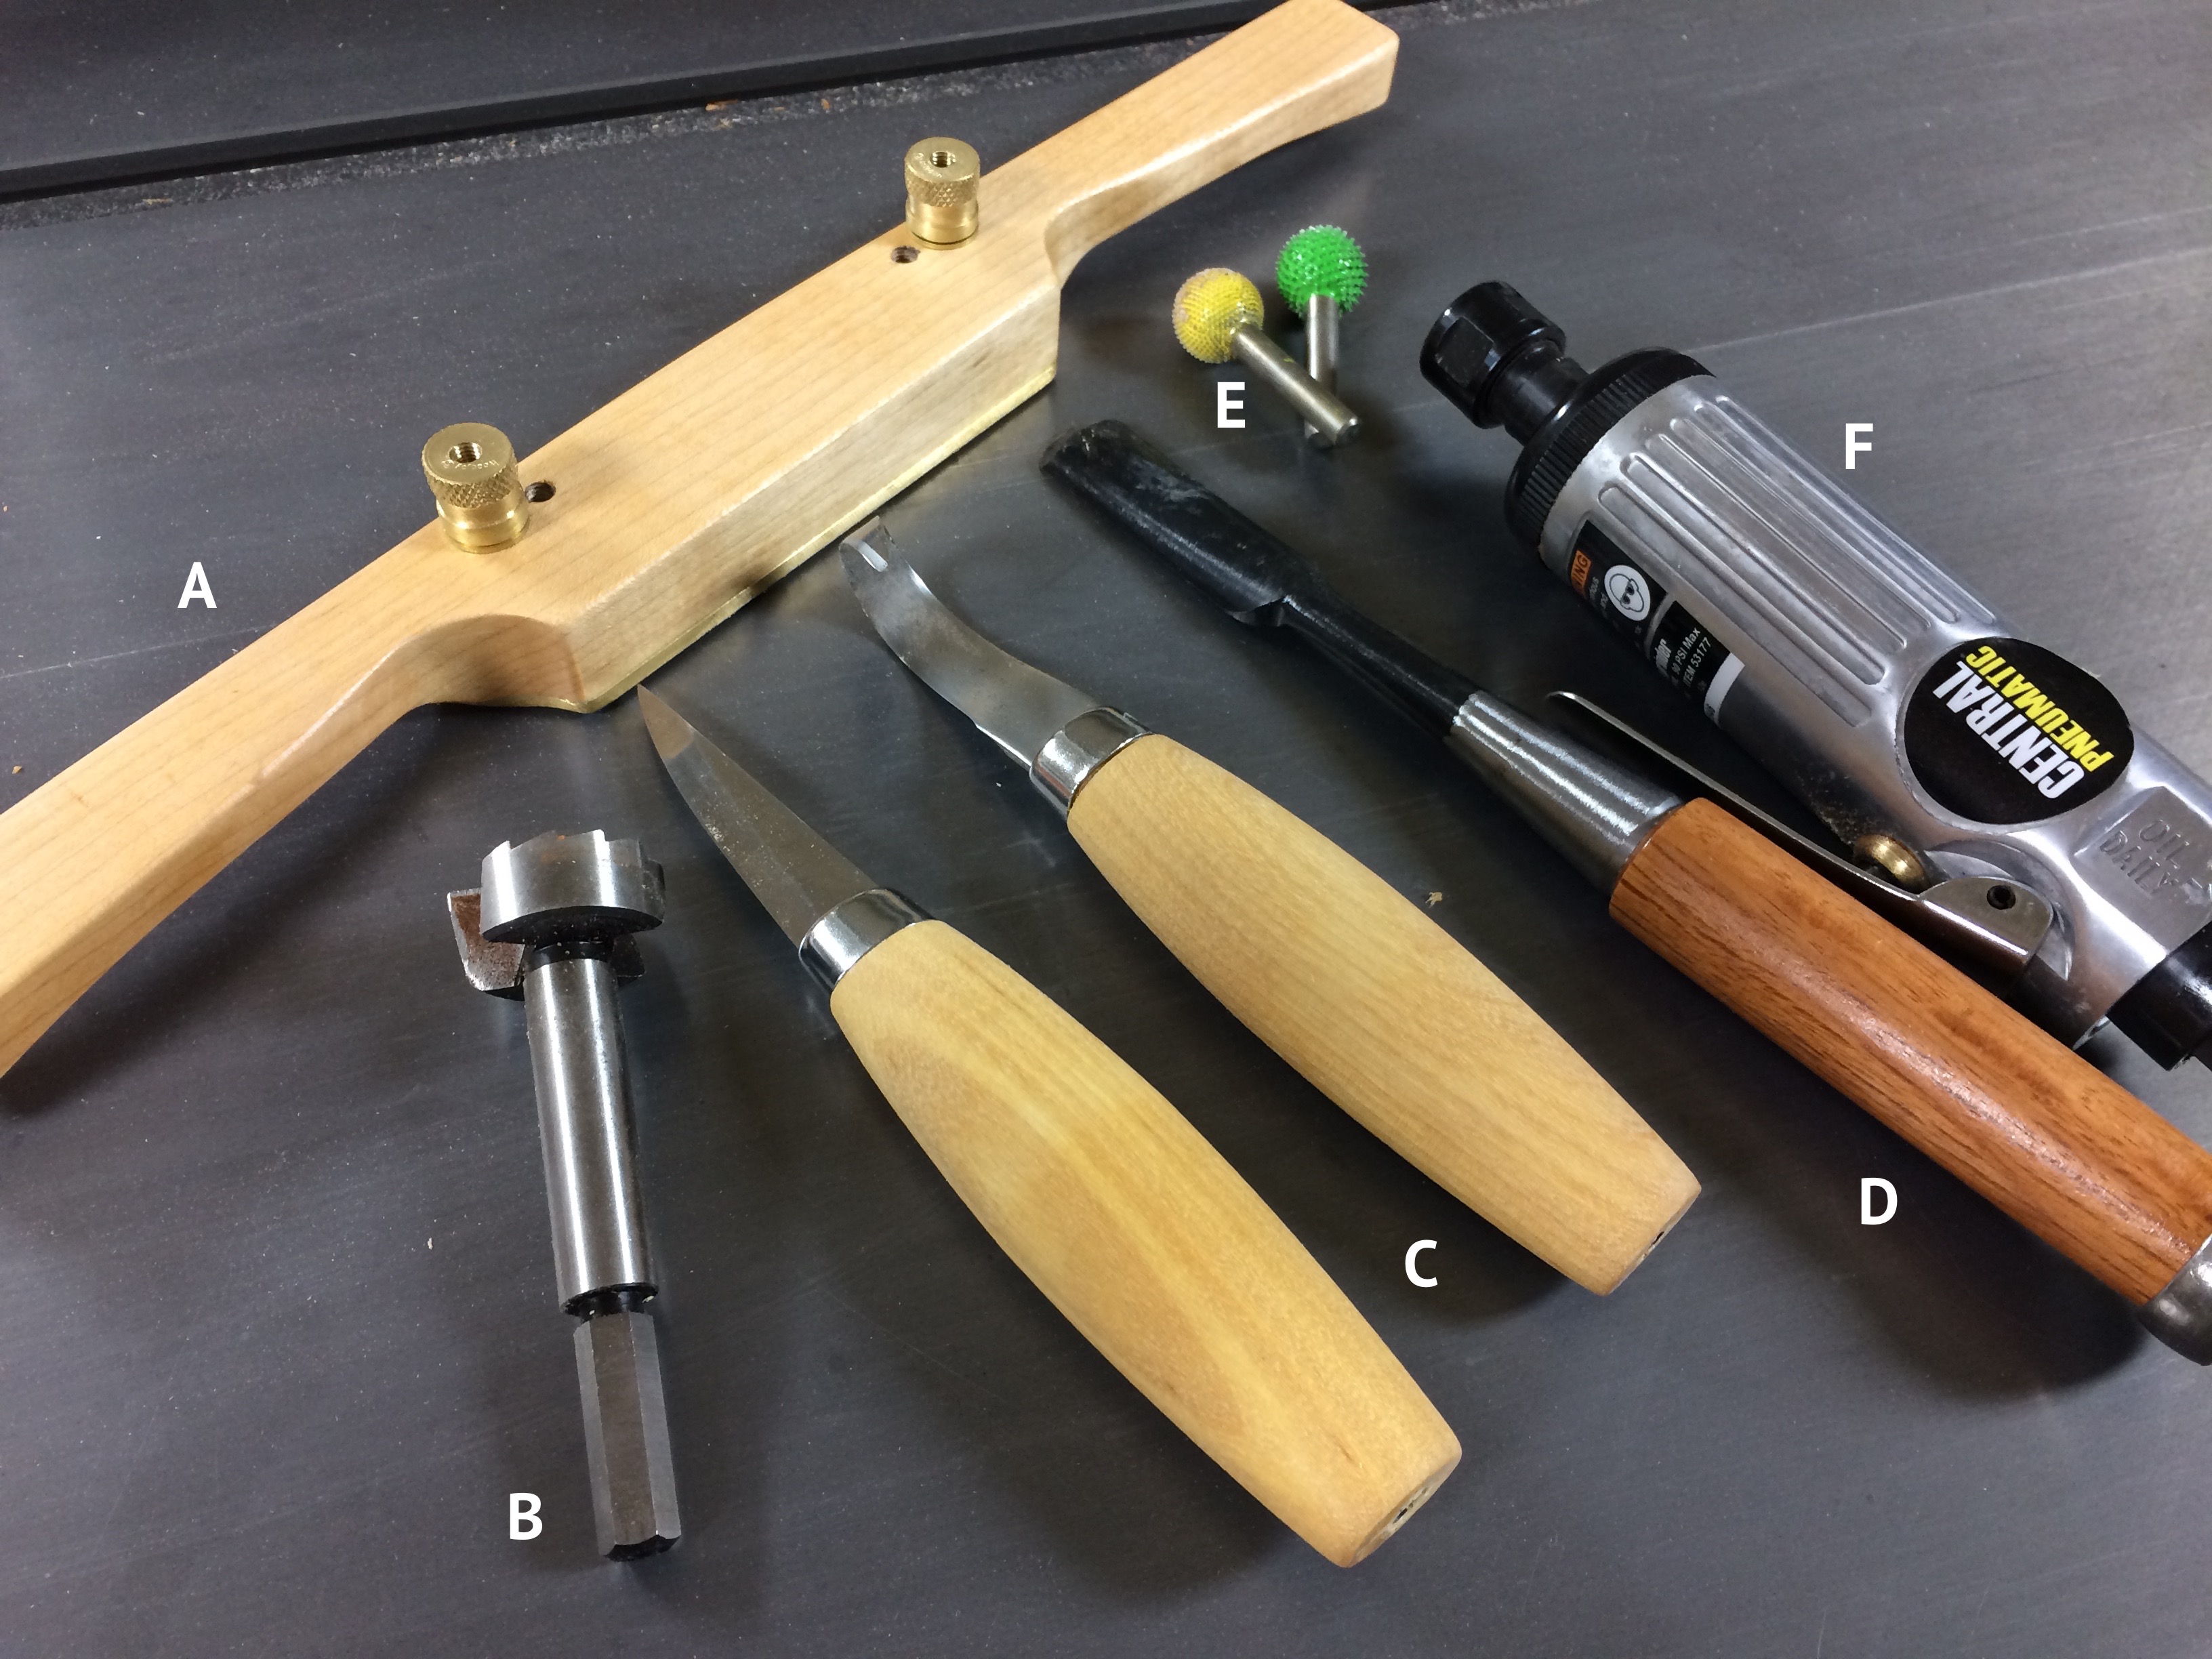
The tools we used to make our spoons.
 Follow