

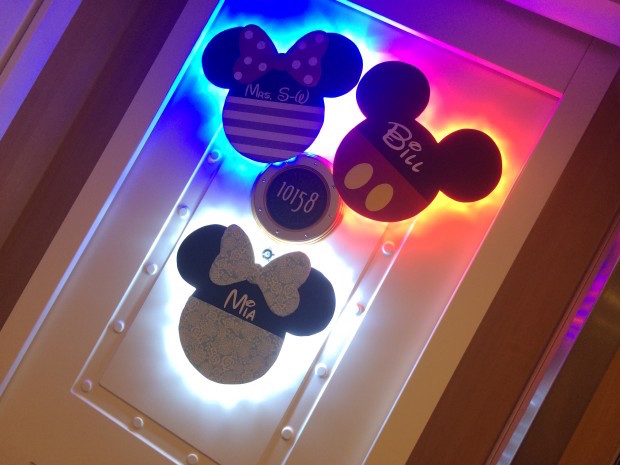
 So we went on our first Disney Cruise in 2016 and the big thing to do is to decorate your stateroom door. The ship’s doors are metal, so folks bring magnets, signs, and various other items to dress up their doors. You can buy kits and items online and even on the ship, but we wanted to create our very own, one-of-a-kind, and over-the-top decorations. Before the cruise, we spent some time thinking (scheming?) about what we wanted to do and decided to create Mickey and Minnie silhouettes with lights. They turned out awesome and they are perfect not only for a cruise, but for adding a little fun to a door or wall in your home, or maybe even as a nightlight for a kid’s (or adult’s!) room.
Below is an overview of how we created these awesome decorations. If you want to save some time, we’ve created DIY kits that include pre-cut wooden pieces, magnetic spacers, vinyl decals, and lights. We even have videos that guide you through each step of creating your own cruise door magnet.
If you don’t have the time (or tools) to make your own, we can create a custom design just for you. Contact us using this form or head on over to our Etsy Site to see our current listings, including dozens of new designs.
Materials
- templates (see downloadable links below)
- wood (or other material for your decoration)
- Elmer’s School Glue (or wood glue)
- hot glue gun
- acrylic paint and brushes
- mini-led lights (battery powered)
- transfer paper
- epoxy
- rare earth magnet or hardware to hang
- vinyl name decal
Step 1:
You’re going to need some plywood and a jigsaw to make your door decorations. In the video below, Nichole shows you where to find the wood at Home Depot.
Materials for Step 1:
5mm Plywood, available at Home Depot and other home improvement stores.
Ryobi Variable Speed Jigsaw, available at Home Depot
Step 2:
Once you have the plywood, it’s time to trace your design (see templates below) and cut it out.
Download the templates.
Note: Since the Mickey silhouette is larger than a single sheet of paper (it measures over 12″), you need to set your printer settings to “actual size” and “poster setting” so that it prints parts of the template onto several pieces of paper. Once you’ve printed the pages for Mickey, tape them together to form a poster. At this point, you have a couple of options for transferring the template to the material you will use for your decoration. One option is to cut the shape out, place it on your material, and trace around it. The other option, which we prefer, is to use transfer paper to trace the design. If you’d like to do a Minnie design, you will want to cut the bow out and paint it before you glue it to your Mickey silhouette. You can use wood glue or Elmer’s School Glue for securing the bow…just give it time to dry.
Step 3:
It’s time to paint your Mickey or Minnie Silhouette. In this video, we’ll show you how to paint the basic Mickey design. Of course, you can paint yours however you’d like…let your imagination run wild! When we made our original designs, I used paint to tape off Mickey’s pants and our daughter decided she wanted to use fancy paper for her Minnie design. She traced the silhouette design on the paper, cut it out, and glued it to the wood (see the gallery after the video below).
Step 4:
Let’s add the magnets and lights. We use hot glue to secure the lights to the wooden magnet. If you’ve never used a hot glue gun before, be sure to check out Nichole’s video for some awesome tips on how to use one.
For magnets, we chose rare earth magnets because of their strength – we didn’t want our signs to fall off the door when the ship hit a big wave. Here’s a link to the magnets we use. We used these battery powered mini led lights for our door decorations. They come in lots of fun colors (blue, red, green, white, and multi-color), they are lightweight, and because they are led, the batteries last a really long time! We used super strong double-sided tape from 3M to secure the battery box to the wood. You could also use epoxy or some other strong glue for your decoration. Just make sure it is strong enough to hold the battery box when it has 3 AA batteries in it.
By the way, if you’re not going on a cruise and want to hang Mickey on a non-metal surface, you can skip the magnet and use velcro or some other method. If you’re placing Mickey in a spot where it will be easy to hide the battery box, maybe a shelf or desk, you do not need to bother with securing it to the decoration.
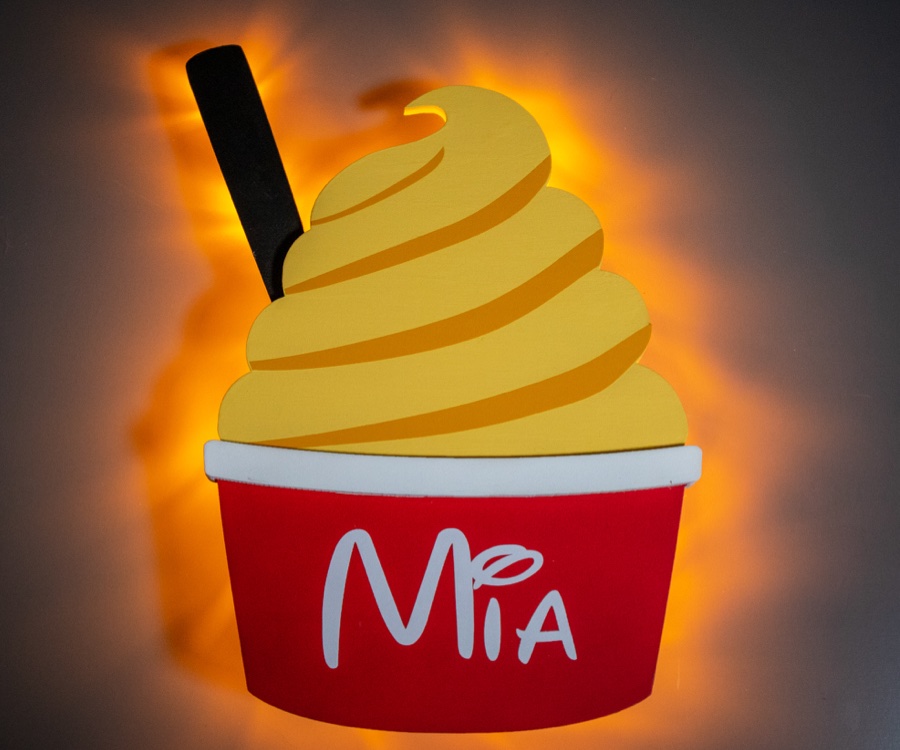
Step 5:
It’s time for the most important part – your name.
We used vinyl for our name, but you could use a stencil and some paint, hand lettering, permanent markers, etc.
 Follow
cooooooolllllllll
How big is the vinyl font? 3″?
Thanks for the question Jean! I just went and measured several names – they were all about 2″ tall. This was in the Walt Disney font. Other fonts are available as well and we can size them to your need.
Nichole
Do you provide the stencil templates for the Darth Vader, Yoda, etc…for the wooden Mickey lighted magnets?
We don’t currently have them on the site, but we hope to include them soon. Thanks for asking!